princesspinkygirl.com
Freezer Chicken Enchiladas
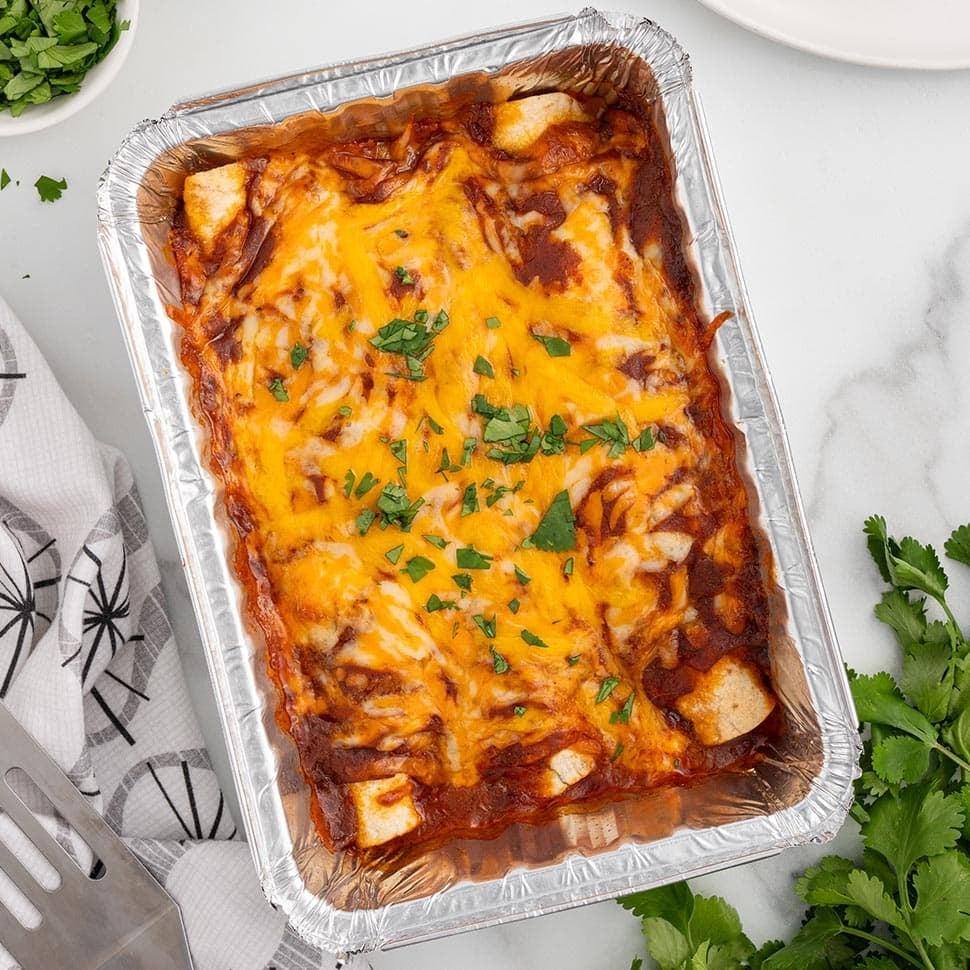
Freezer Chicken Enchiladas are a great make-ahead meal that can be cooked as a single serving or prepared in a family-sized portion. Roll, wrap, and store in the freezer until you're ready to bake!
Prep
30 min
Cook
25 min
Total
24h 55m
Serves
4
Instructions
- 01
Place 4 small (5x8 inch) disposable aluminum pans onto the counter and lightly spray the inside of each pan with nonstick cooking spray. Set aside.
- 02
In a medium skillet, over medium-high heat, add the unsalted butter, diced sweet yellow onion and minced garlic. Cook for 2-3 minutes or until the onions are tender.
- 03
Add the diced green chilis and taco seasoning to the skillet, stirring to combine, and cook for an additional 1 minute.
- 04
Turn off the heat to the skillet and stir in the sour cream until all the ingredients are fully combined.
- 05
To a large mixing bowl, add the cooked onion mixture, shredded rotisserie chicken and 1 cup shredded colby jack cheese gently stirring to combine all the ingredients.
- 06
Place a single flour tortilla onto a plate. Add ⅓ cup chicken filling into the center of the flour tortilla and carefully roll the tortilla to form the shape of an enchilada.
- 07
Place the filled, and rolled, tortilla into one of the prepared aluminum pan, seam side down, and repeat with two more tortillas until you have a total of 3 filled and rolled tortillas in a single aluminum pan. Repeat steps 5 and 6 until all the aluminum pans are filled with three enchiladas each.
- 08
Divide the red enchilada sauce evenly among the four pans of enchiladas by carefully pouring approximately ½ cup red enchilada sauce over the tops of the enchiladas in each aluminum pan.
- 09
Divide the remaining shredded colby jack cheese evenly among the four aluminum pans by topping each pan of enchiladas with ½ cup of shredded cheese.
- 10
Cover each of the pans of freezer enchiladas with a piece of aluminum foil tightly sealing the pans around all the edges. Place the aluminum pans of enchiladas into the freezer, in a single layer, for a minimum of 8 hours, up to overnight, to allow the enchiladas to freeze solid before stacking them for longer storage in the freezer.
- 11
When ready to bake, remove as many aluminum pans of enchiladas as desired and place into the refrigerator to thaw completely. Once thawed, remove the aluminum foil cover from each pan.
- 12
Preheat the oven to 375°F and bake uncovered for 25-30 minutes or until the cheese is bubbly and lightly golden. Remove from the oven and allow the enchiladas to cool for 3-5 minutes before garnishing with fresh chopped cilantro if desired and serving.
Nutrition
per serving · 1 serving
- Calories
- 997
- Protein
- 57g
- Carbs
- 69g
- Fat
- 54g
- Fiber
- 8g
- Sugar
- 18g
- Sat. fat
- 27g
- Sodium
- 3145mg
- Cholesterol
- 196mg
Variations & swaps
Variations For Freezer Enchiladas
- Cook It Casserole-Style: Instead of making four individual serving containers of these freezer enchiladas, you can use a single 9×13 disposable aluminum pan to make a chicken enchilada casserole dish. Place all 12 filled and rolled enchiladas in a single layer in the pan, cover tightly with a sheet of aluminum foil, and freeze for up to 2 months. Thaw and bake according to recipe instructions.…
- Tasty Toppings: Serve your freezer chicken enchiladas with your favorite Mexican toppings, such as sour cream, diced tomatoes, sliced olives, diced avocado, sliced jalapenos, shredded lettuce, refried beans, yellow rice, and chopped fresh cilantro.
- Pick Another Protein: While I love the convenience of this rotisserie chicken enchilada, you can use ground beef, ground turkey, or pulled pork or make it meatless using a vegetarian meatless crumble.
- Bulk It Up With Beans: To add even more protein, you can bulk up the mixture with black or white beans.
- Make it Meatless: You can make a vegetarian or vegan version by using your favorite meat alternative, like crumbled tofu, beans, veggies (like sliced bell peppers, zucchini, or corn), or meatless crumbles instead of chicken. For a vegan version, make sure to use dairy-free cheese and sour cream.
Free · No ads
Save this recipe to your own library.
iCook.ing is a free recipe library. Create an account in 10 seconds to save this recipe, plan your week, and head to the store with one shopping list.
Save from anywhere
Paste a link from a recipe blog, Instagram, TikTok, Facebook, or Pinterest — we pull the ingredients, steps, and photo.
Plan your week
Drag recipes onto a weekly plan, scale for the number of people you're feeding, and never wonder what's for dinner.
One shopping list
Your plan rolls up into a single, de-duplicated shopping list — sorted by aisle so the store run is faster.
Cook, don't scroll
Big, screen-stays-awake cook mode with built-in timers. No ads. No life story above the recipe.