thatbreadlady.com
Homemade Cinnamon Rolls
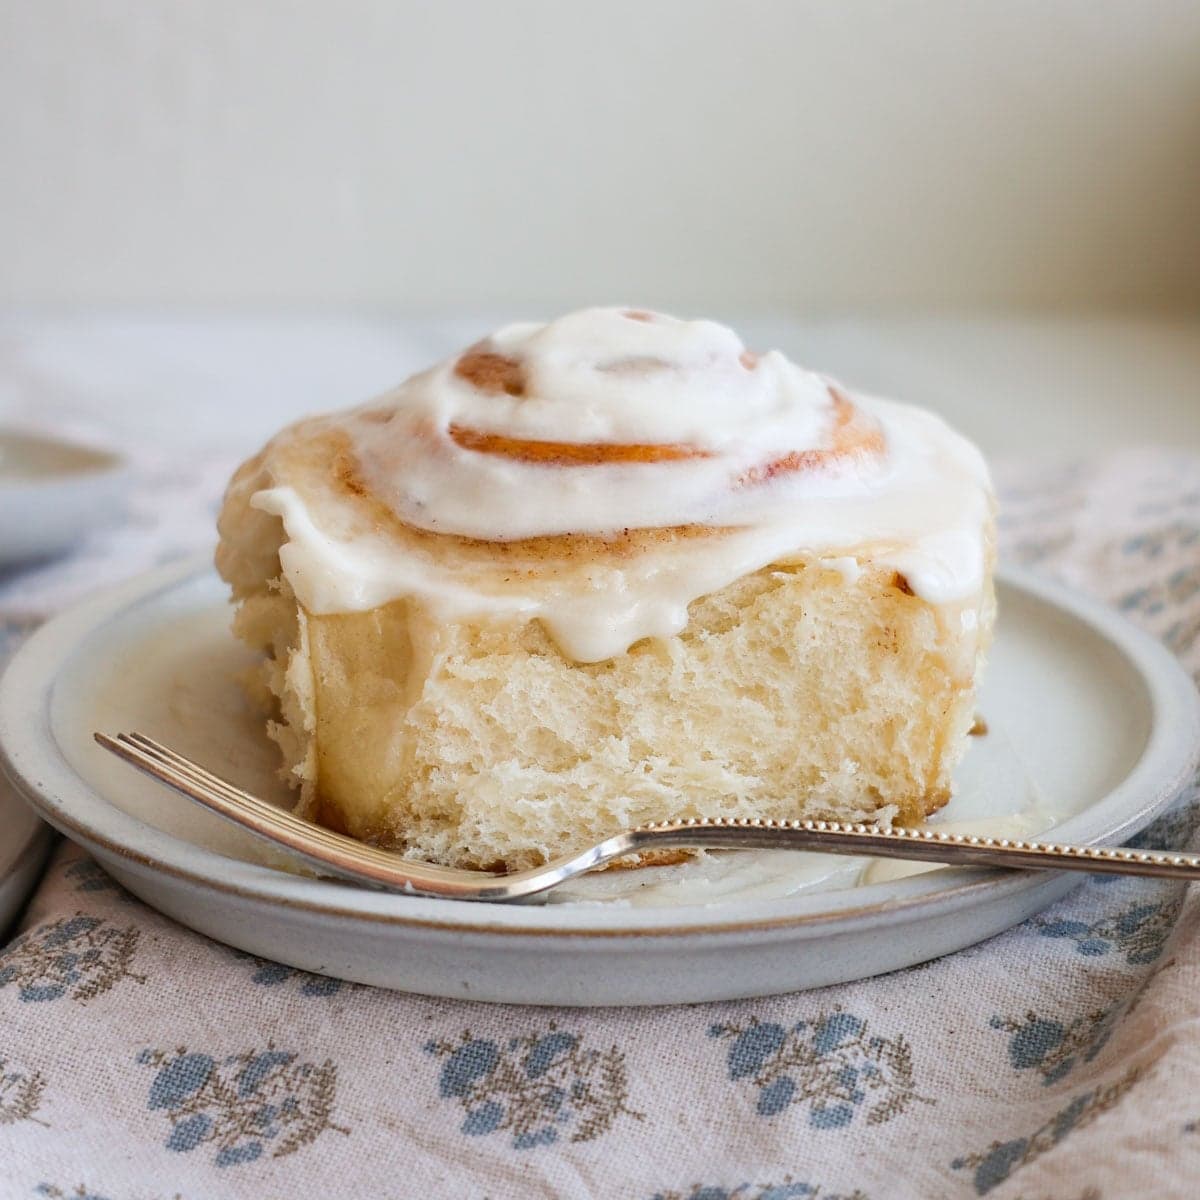
This homemade cinnamon rolls recipe is the one you'll use again and again! They bake up super fluffy, and stay soft for days. Top these cinnamon rolls with cream cheese icing - they're so easy to make and will melt in your mouth with every indulgent bite! You can double the recipe, and use half for cinnamon rolls and the other half for Homemade Crescent Dinner Rolls!
Prep
3h
Cook
20 min
Total
3h 20m
Serves
18
Instructions
- 01
To the bowl of a stand mixer, add the ingredients for the cinnamon roll dough: the water, milk, instant yeast, sugar, salt, dry potato flakes, eggs, shortening, butter, and half the flour. Mix with the dough hook attachment, on low speed until combined and smooth, about 1 minute.
- 02
While on low speed, gradually add the remaining flour, about 1/2 cup at a time. You may or may not need the entire amount of flour. You can stop the mixer and check the dough by lightly tapping on it with your fingertip - it should feel soft, slightly tacky, but not wet. *When in doubt, it’s always best to go lighter on the flour. You can always add more flour later, but you can’t take flour away. Too much flour in your dough will give you dry, dense rolls.
- 03
Knead the dough on low speed for 10-15 minutes, or until it's smooth and cohesive. It should be mostly cleaning the sides of the bowl. If you take a piece of dough, you should be able to stretch it a few inches apart without it tearing.
- 04
Spray a large bowl with nonstick baking spray. Remove the dough from the mixer and place it the bowl. Cover it with a clean kitchen towel and let it rise until doubled in size, about 60-90 minutes.
- 05
In separate bowl combine the brown sugar and cinnamon. Set aside.
- 06
Turn the risen dough out onto a floured work surface. Divide it into two equal pieces, about 795g each. Pre-shape each piece of dough by tucking the sides under and pinching the dough together on the bottom side. This will make it easier to roll out into a rectangle. Place both pieces on the floured countertop.
- 07
Melt ¼ cup salted butter in microwave safe dish and set aside.
- 08
Working with one piece of dough at a time, roll it out to a rectangle, about 12 inches by 18 inches.
- 09
Spread half of the melted butter over the dough, leaving an inch border on the top long edge of the rectangle. Sprinkle half the brown sugar mixture on top of the melted butter, continuing to leave the inch border at the top edge. Leaving this border will help in sealing the dough shut when rolled up.
- 10
Start with the long side closest to you, and working from left to right, roll up the dough into a log. Try to tighten and pull the dough as you go - it will create more cinnamon swirls in your rolls. When you get to the end, pull the dough up and over the roll. Pinch the seam shut.
- 11
Using a piece of dental floss or baker’s twine, make a light indentation where your cuts will be. One rollout will give you 9 large cinnamon rolls. This will be your guide to know where to cut and to help make them all the same size.
- 12
When ready to make your cuts, slide the floss under one end of the dough, bring the ends of the floss up, cross them over and tug to cut through the dough, making a 2-inch-wide roll. Continue to cut to get 9 equal sized cinnamon rolls. Roll out, fill, and divide the second piece of dough.
- 13
Spray a baking sheet with nonstick baking spray. Place cinnamon rolls on the baking sheet about 1 inch apart. (You should be able to fit 18 cinnamon rolls on one baking sheet when arranged as I have pictured.) Cover with a clean kitchen towel and let the cinnamon rolls proof for about 45-60 minutes. They should be puffy and nearly double in size. See recipe notes for more proofing tips. Preheat your oven towards the end of the final proof.
- 14
*Optional: You can pour the heavy cream over the cinnamon rolls just before baking. This gives them an extra soft texture and makes the filling nice and gooey! But again, this is optional and they're still amazing without the heavy cream.
- 15
Bake in a preheated 350°F oven for 23-28 minutes or until edges are just golden brown. The inside of the cinnamon rolls should reach a temperature of at least 195°F. Place the pan on a wire cooling rack.
- 16
With an electric mixer, combine the ingredients for the cream cheese frosting: the cream cheese, butter, vanilla, powdered sugar, and milk. Mix on medium low speed until smooth, creamy, and spreadable.
- 17
Spread the cream cheese frosting over the cinnamon rolls. I prefer to frost them while they're still warm, about 20 minutes out of the oven - this way the frosting will slightly melt into the cinnamon rolls. You can also let them cool completely before icing. Enjoy them freshly baked and slightly warm for the best, fluffy, delicious cinnamon roll you've ever had! Store any leftovers in an airtight container for up to 4 days.
Nutrition
per serving · 1 cinnamon roll
- Calories
- 462
- Protein
- 6g
- Carbs
- 69g
- Fat
- 19g
- Fiber
- 2g
- Sugar
- 39g
- Sat. fat
- 7g
- Sodium
- 308mg
- Cholesterol
- 36mg
Variations & swaps
Ingredient Substitutions and Variations
- While this recipe has some unique ingredients that really set these homemade cinnamon rolls apart from other recipes, there are some substitutions and variations you can use if you don’t have access to one or more ingredient.
- Bread flour – You can use all-purpose flour instead. Since the protein content is a little lower, you may notice that you’ll need to use a little extra flour to get the dough less sticky. It also may be a more difficult to work with when rolling out – dust with more flour as needed when rolling out.
- Instant yeast – You can use active dry yeast instead. If you do, you’ll need to “bloom” the yeast first. Add the active dry yeast to 1/2 cup of the warm water with a pinch of sugar added. Let it sit for 15 minutes. If the yeast becomes bubbly and foamy, it’s good to use. If not, you’ll need to replace it with a new packet of yeast. You can read more about Active Dry Yeast vs. Instant Yeast here.
- Butter flavored shortening – I understand this is not available world wide, or you may not like to bake with shortening. In that case, you can swap out the shortening for additional butter. You’ll use the 1/4 cup of butter already called for in the recipe, plus 1/2 cup more butter (to replace the shortening). The results will still be delicious, just maybe not quite as fluffy.
- Potato Flakes (aka Instant Mashed Potatoes) – If potato flakes aren’t available where you live, you can swap these out with real potatoes. Bake one potato until tender. Remove the skin and mash. Use 1/3 cup of real, mashed potatoes for every 1/2 cup of potato flakes. That way, you’ll still get the benefits from adding the starch to the dough.
Free · No ads
Save this recipe to your own library.
iCook.ing is a free recipe library. Create an account in 10 seconds to save this recipe, plan your week, and head to the store with one shopping list.
Save from anywhere
Paste a link from a recipe blog, Instagram, TikTok, Facebook, or Pinterest — we pull the ingredients, steps, and photo.
Plan your week
Drag recipes onto a weekly plan, scale for the number of people you're feeding, and never wonder what's for dinner.
One shopping list
Your plan rolls up into a single, de-duplicated shopping list — sorted by aisle so the store run is faster.
Cook, don't scroll
Big, screen-stays-awake cook mode with built-in timers. No ads. No life story above the recipe.