seriouseats.com
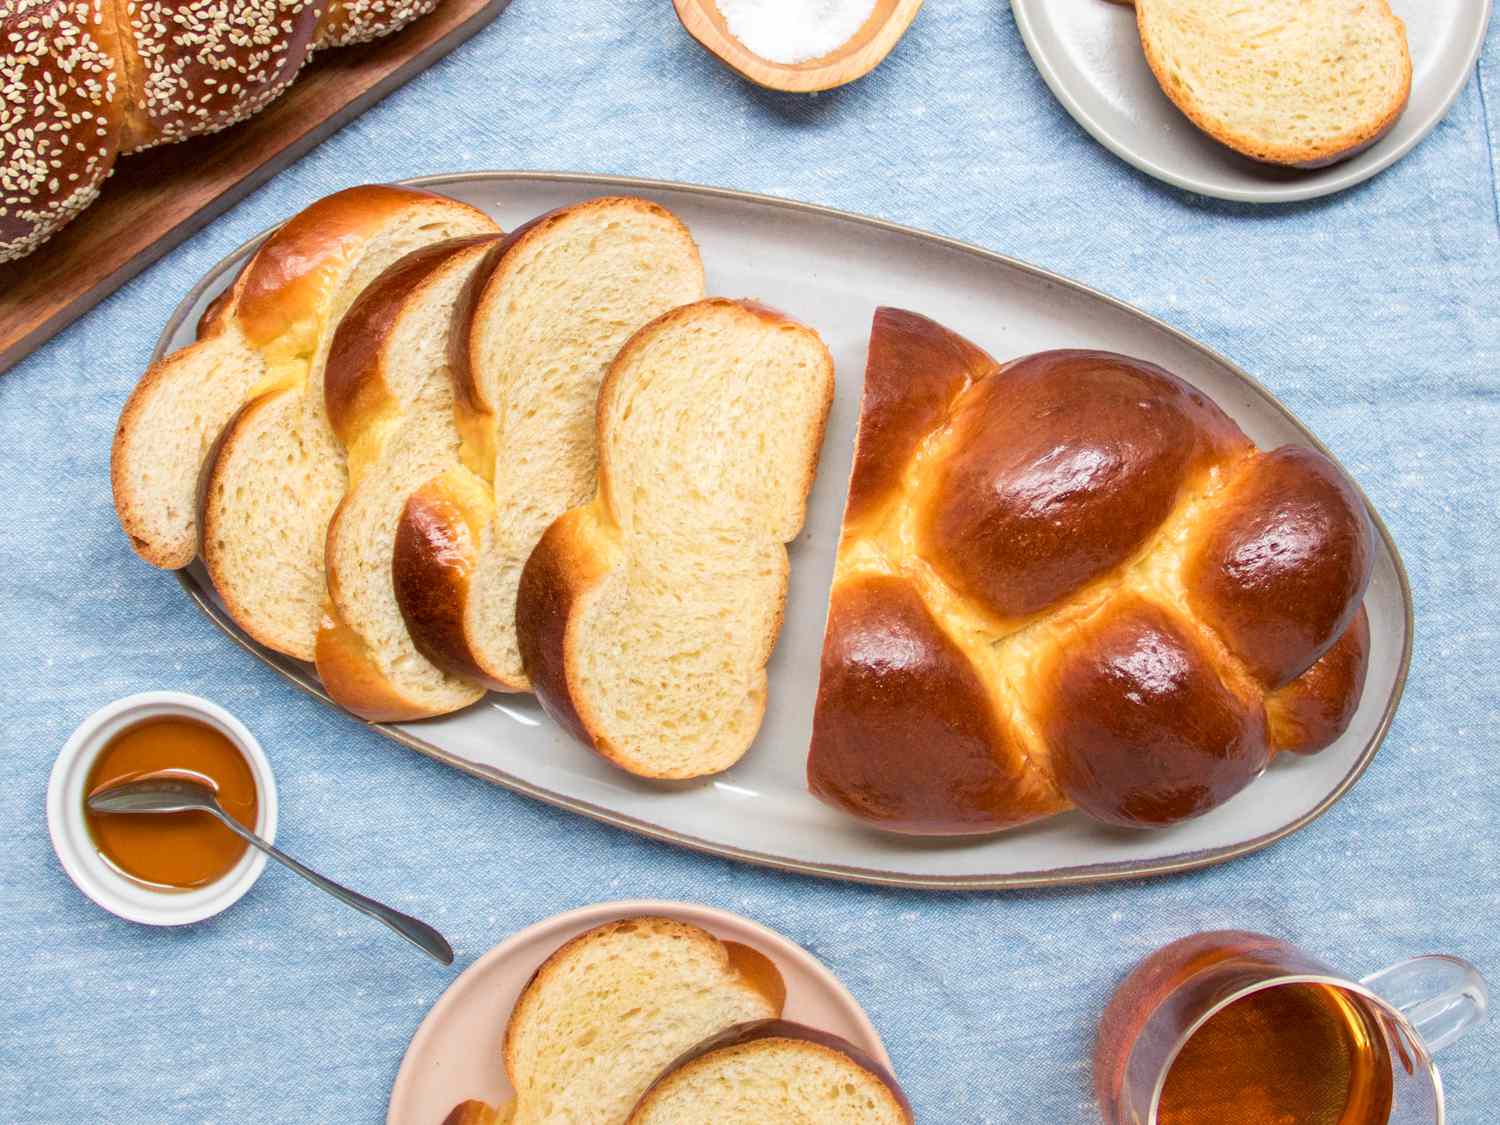
Pillowy Soft Challah
Ritual and muscle memory have carried this soft, rich Jewish bread through generations. My unique method for enriching the dough and in-depth guide for braiding a basic three-strand loaf make this challah easy enough for even the most novice bread bakers to perfect at home.
Prep
45 min
Cook
30 min
Total
4h 15m
Serves
40
Instructions
- 01
For the Base Dough: In the bowl of a stand mixer, whisk the hot water, eggs, and sugar until combined and the mixture registers 100°F (38℉)—just slightly warmer than your finger. Whisk in flour and yeast. In a stand mixer fitted with a dough hook, mix on low speed until a shaggy dough is formed and no dry flour remains, 1 to 3 minutes. Cover bowl loosely with a kitchen towel and let sit for 15 minutes.
- 02
For the Golden Paste: While dough rests, in a medium bowl, whisk together the egg yolks, olive oil, honey, and salt. Add the flour and, using a flexible spatula, mix well until a smooth, homogeneous dough forms; it should resemble a soft, glossy cookie dough.
- 03
For the Challah Bread: Mix the now-rested base dough on medium-low speed and add the prepared golden paste, 1 tablespoon at a time, allowing each portion of paste to incorporate before adding the next, and scraping down bowl and dough hook as needed, about 7 minutes. Increase mixer speed to medium and continue to knead until dough is elastic, smooth, and sticky, 5 minutes, scraping the sides and bottom of bowl as needed to incorporate everything. Remove the dough hook and, using a bowl scraper or spatula, gather and tuck the dough under itself to form a round mass at the bottom of the mixer bowl. Cover the bowl tightly with a large plate or plastic wrap and let proof at warm room temperature (70 to 74℉; 21 to 23℃) until doubled in size, 1 to 2 hours.
- 04
For Shaping Two 3-Strand Braided Loaves: Line a 13 x 18-inch baking sheet with parchment paper; set aside. Press down on dough to deflate and transfer to a lightly floured work surface. Use a bench scraper or sharp knife and divide dough into 2 equal pieces (about 555g each). Divide each dough piece into 3 equal portions for a total of 6 portions that are about 185g each.Set aside and cover with a kitchen towel. (See below for instructions on how to make one large loaf.)
- 05
Working with 1 dough portion at a time, cup dough with your palm and roll against the counter into a smooth, tight ball. With the dough ball seam-side down, use the heel of your hand to press and flatten the dough ball to resemble a thick pancake, measuring about 5 inches in diameter. Use your fingers as needed to stretch the dough out to 5 inches, if needed.
- 06
Flip over, then, starting away from you, roll it down towards you into a spiral, forming a fat 5- to 6-inch log. Pinch the 2 ends of the log to seal and set the log aside on the prepared parchment, seam-side down, and repeat with the remaining dough portions. Once all logs are formed, let rest, uncovered, for 15 minutes.
- 07
Working with 1 rested log at a time, transfer to a clean work surface (avoid flouring your work surface, as a slightly tacky surface is needed to create enough tension for rolling the strands). Starting at the center of the log, use the fingers and palms of both hands to roll the log into a thin long strand, leaving ends slightly tapered, that measures about 12 inches long by 1½ inches in diameter if making 2 medium-loaves. Return shaped strand to baking sheet and repeat with the remaining logs.
- 08
Lightly flour the work surface and roll each strand in the flour for a thin flour coating. (This will help maintain the definition in the braid later during shaping.)Set 3 floured strands aside and place the remaining 3 strands on the work surface with length perpendicular to the counter’s edge and spaced about 2 inches apart. Pinch the far ends of the 3 strands together.
- 09
Begin to braid the challah by lifting the dough strand on the right side, passing it over the center strand. The strand that had been on the right is now the center strand. The original center strand is now the right strand. The rope on the left has not moved.
- 10
Lift the dough strand on the left and pass it over the center strand. The rope that was on the left is now the center strand. Continue braiding the challah by alternately placing the right rope over the center rope, then the left rope over the center rope. Try to keep the braid tight while working down the loaf, while also avoiding pulling and stretching of the strands.
- 11
Once the braid is complete, press and pinch the open ends together. Tuck both pinched ends of the braid under to form rounded ends of the loaf. Gently transfer the braided loaf to the lined baking sheet, placing it at a 45-degree angle to fit, leaving enough space for the second loaf.
- 12
Repeat braiding and shaping the second challah loaf with the remaining 3 strands and transfer to the baking sheet with the first loaf, arranging both at a 45-degree angle to fit.
- 13
Loosely drape loaves with kitchen towels or greased plastic wrap and let proof at warm room temperature until doubled in volume, 1 to 2 hours. (When you press a finger into the dough, it should bounce back only halfway, leaving an impression on the surface.)
- 14
While challah is proofing, adjust oven rack to lower-middle position and preheat oven to 375℉ (190℃). In a small bowl, beat the egg with 1 teaspoon water until fully combined. Using a pastry brush, gently brush loaves all over with egg wash, being careful to avoid excess dripping at the bottom of the loaves; you do not want a moat of egg surrounding your challah. Refrigerate the remaining egg wash and let loaves rest at room temperature, uncovered, for 10 to 15 minutes. (This rest allows the egg wash to dry before applying the second coat.) Brush with a second coat of egg wash. Sprinkle all over with sesame or poppy seeds, if using.
- 15
Bake, rotating sheet halfway through baking, until challah is fully baked, registers 200°F to 210°F (93℃ to 99℃) with an instant-read thermometer, and braids are glossy and deep amber in color, 30 to 40 minutes. Transfer to a cooling rack and let cool for at least 1 hour. Slice and serve.·
Nutrition
per serving
- Calories
- 87
- Protein
- 3g
- Carbs
- 13g
- Fat
- 3g
- Fiber
- 0g
- Sugar
- 2g
- Sat. fat
- 0g
- Sodium
- 124mg
- Cholesterol
- 19mg
Free · No ads
Save this recipe to your own library.
iCook.ing is a free recipe library. Create an account in 10 seconds to save this recipe, plan your week, and head to the store with one shopping list.
Save from anywhere
Paste a link from a recipe blog, Instagram, TikTok, Facebook, or Pinterest — we pull the ingredients, steps, and photo.
Plan your week
Drag recipes onto a weekly plan, scale for the number of people you're feeding, and never wonder what's for dinner.
One shopping list
Your plan rolls up into a single, de-duplicated shopping list — sorted by aisle so the store run is faster.
Cook, don't scroll
Big, screen-stays-awake cook mode with built-in timers. No ads. No life story above the recipe.