simplicityandastarter.com
Sourdough Bread Recipe for Beginners
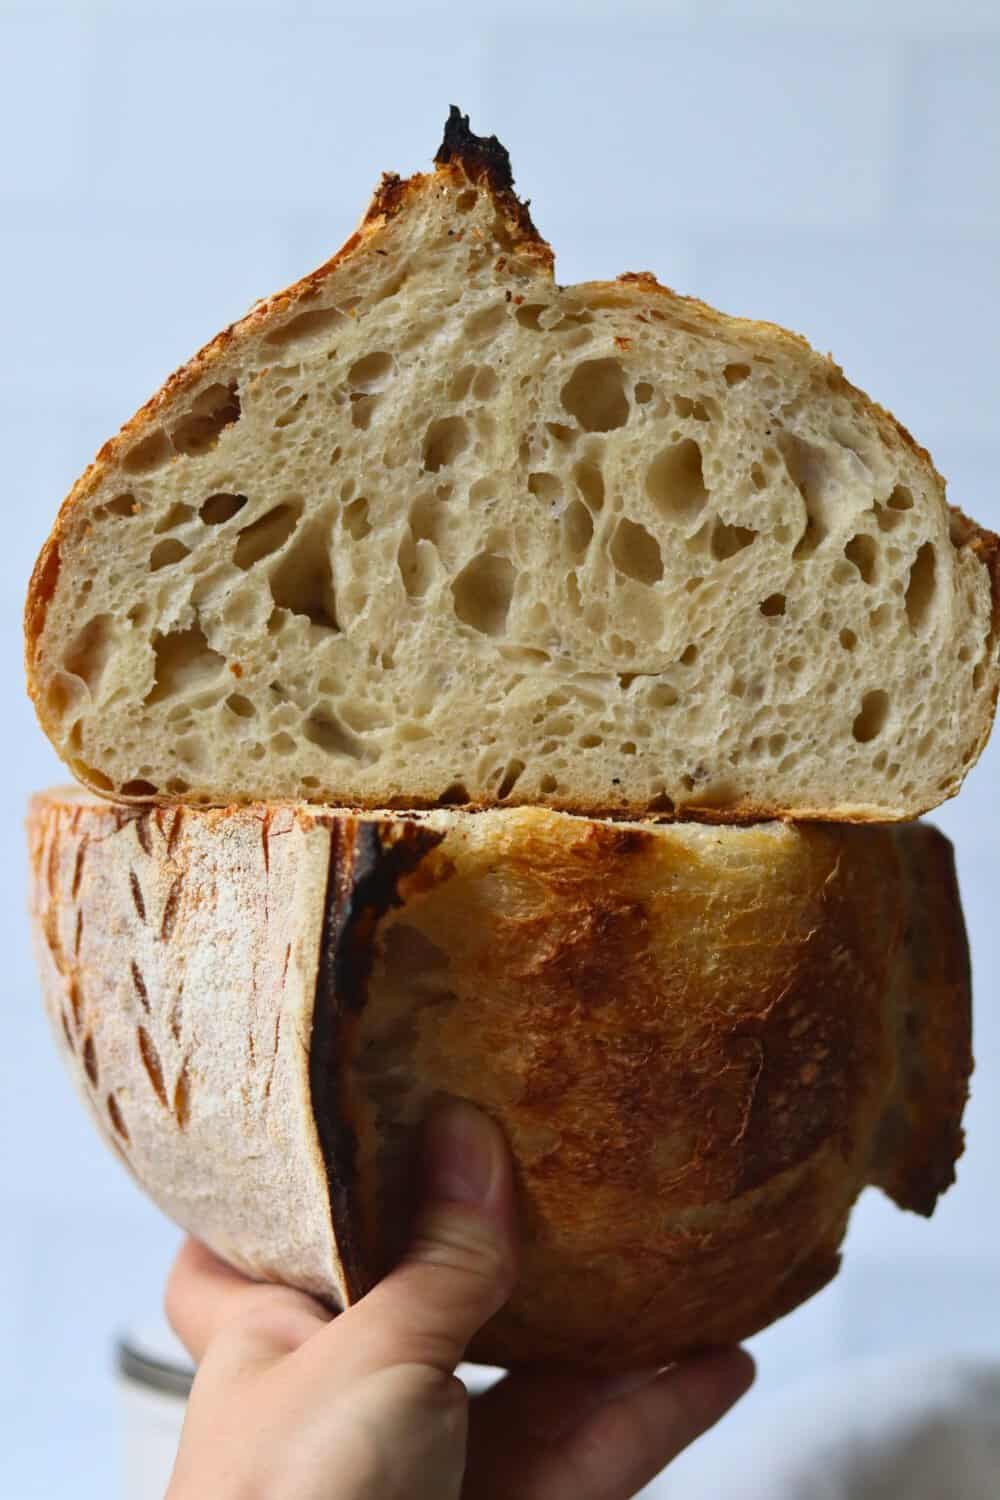
Learn to create this classic, crusty loaf of sourdough bread with minimal effort! Only 4 ingredients are needed for this easy sourdough recipe and most of the work is done for you overnight.
Prep
10 min
Cook
1h
Total
21h 10m
Serves
1
Instructions
- 01
Mix together the active, bubbly sourdough starter and the room temperature water in a straight-edge mixing bowl until it looks like a milky liquid. I love using my Danish dough whisk for this step. I prefer using a straight edge bowl so I can clearly see when my dough has rise by 75%.
- 02
Next, add the bread flour and salt. Be sure to mix until all of the flour is incorporated. The dough will look rough and shaggy, not like a uniform dough ball.
- 03
Cover the dough with plastic wrap or a reusable shower cap, and let the dough rest for at least 30 minutes before you move onto the next step.
- 04
With slightly wet fingers, grab a section of the dough and stretch the bread dough above your bowl. Then fold it over on top of the dough.
- 05
Rotate your bowl clockwise a quarter of the way and repeat identical stretch and fold. Repeat the process until you come full circle, about 6 stretch and folds in total. You will notice the dough will start to look much smoother than before. Doing stretch and folds develops gluten in your dough, which is what allows your bread to rise beautifully while it bakes.
- 06
Cover the dough and let rest for another 30 minutes.
- 07
Repeat the identical stretch and fold process three more times (for a total of 4 different rounds), waiting at least 30 minutes between each stretch and fold.
- 08
Cover the dough after each stretch and fold.
- 09
Now this is the most finicky part of sourdough. There isn’t a set time for your bulk ferment. It is greatly dependent on the temperature of your environment and dough. The warmer it is, the faster your dough will ferment. The opposite is true for cooler temperatures.
- 10
Bulk fermentation begins the moment you mix your dough and continues until you shape your dough.
- 11
In an environment of 70 degrees, doughs will typically bulk ferment for a total of 12 hours, but again, you will have to look for the signs that your dough is done fermenting, rather than the clock. Warm temperatures will be faster, while cooler will be slower.
- 12
The dough should have increased in size by 75%The dough looks light, airy and jiggles when shaken.The dough should easily pull away from the bowl.There should be visible bubbles on top of the dough.The dough doesn’t tear when you do a windowpane test.
- 13
Once your dough has completed its bulk fermentation, it's time to shape! With slightly wet fingers, gently release the dough from the sides of the bowl. Be careful not to pop all of those lovely bubbles!
- 14
Tilt the bowl and leave gravity to do the work to move the dough on the counter.
- 15
Shape the dough by doing another round of stretch and folds until you have gone full circle.
- 16
With a bench scraper or your hands, turn the dough upside down, so the seam is now on the counter. Lightly dust the top with some flour.
- 17
over the dough with your mixing bowl and let it rest for 30 minutes. This pre-shape helps to create extra tension, just before shaping which helps for a beautiful rise.
- 18
While you are waiting for the dough to rest, prepare your proofing basket. This can either be a banneton or a small mixing bowl lined with a tea towel.
- 19
Dust the banneton or the tea towel with flour to prevent sticking.
- 20
After 30 minutes of rest, flip the dough, with the floured side down.
- 21
To shape into a round boule, gently pull the bottom of the dough towards you, then fold it towards the center of the dough. Pull the right side of the dough out and fold towards the center. Repeat with the left side. Finally, stretch the top of the dough away from you and fold towards the center of the dough.
- 22
Flip the dough over again, seam side down. Gently cup your hands around the dough ball. Turn the ball in a clockwise motion about a quarter turn and then softly pull the dough towards you. Do this repeatedly until you see the dough form a tighter and more round shape. Stop if the dough starts to tear.
- 23
With a bench scraper or just your hands, carefully scope up the dough and lay it upside down (smooth side down) into your floured proofing basket and cover it with plastic wrap or a reusable shower cap.
- 24
Place your proofing basket in the fridge for cold proof for 8-72 hours.Placing your dough in the fridge slows down the fermentation process, which deepens the flavors of your loaf. It also gives you flexibility in when you want to bake your bread. But don’t wait too long! If left in the fridge for too long, your dough will over-ferment, causing the dough to not be able to rise.
- 25
Pro-tip: 30 minutes before baking, place your dough in the freezer. This tightens the dough. which makes for easier scoring.
- 26
After 30 minutes, remove sourdough from the fridge or freezer.
- 27
Cut a piece of parchment paper that is big enough for your dough to be surrounded on the bottom and its edges.
- 28
Place parchment paper on your workspace and gently flip the banneton upside down over the parchment paper. Since you dusted the banneton, your dough should slowly release and fall onto the parchment paper, landing in the middle with the floured side facing up.
- 29
With a lame / razor blade or sharp knife, score a crescent moon shape or any other fancy design you might find on Pinterest that you are dying to try!
- 30
Grab the corners of the parchment paper and place it into your COLD Dutch Oven.
- 31
**This recipe can be baked in a HOT Dutch oven, if you prefer. Refer to the Notes below for step-by-step directions.**
- 32
With its lid on, place a 6 QT Dutch oven on a cookie sheet - this helps prevent the bottom of your loaf from burning and getting too hard. Slide the cookie sheet and Dutch oven into the COLD oven and preheat it to 450 degrees F. Bake for 50 minutes total, this includes the preheat time.
- 33
After 50 minutes, remove the lid and bake for an additional 5-15 minutes, or until the crust is perfectly golden brown and the internal temperature is between 205 - 210 degrees F.
- 34
Immediately remove the Dutch Oven from your oven. Using the corners of the parchment paper, lift the sourdough bread and place it onto a cooling rack to cool.
- 35
Allow your homemade bread to cool for 1 hour before cutting into it. (I know!! How can you possibly wait when it looks and smells so good?! But trust me, if you cut in too soon, your masterpiece will turn mushy and gummy.) In the meantime, listen to your loaf "sing" its little tune to you with every crinkle and crack.
- 36
Once the hour is up, slice into your work of art, slather on some butter, and VOILA! You have baked your very own sourdough bread! Congratulations, now ENJOY!
Nutrition
per serving · 1 serving
- Calories
- 1851
- Protein
- 61g
- Carbs
- 372g
- Fat
- 8g
- Fiber
- 12g
- Sugar
- 2g
- Sat. fat
- 1g
- Sodium
- 3904mg
Free · No ads
Save this recipe to your own library.
iCook.ing is a free recipe library. Create an account in 10 seconds to save this recipe, plan your week, and head to the store with one shopping list.
Save from anywhere
Paste a link from a recipe blog, Instagram, TikTok, Facebook, or Pinterest — we pull the ingredients, steps, and photo.
Plan your week
Drag recipes onto a weekly plan, scale for the number of people you're feeding, and never wonder what's for dinner.
One shopping list
Your plan rolls up into a single, de-duplicated shopping list — sorted by aisle so the store run is faster.
Cook, don't scroll
Big, screen-stays-awake cook mode with built-in timers. No ads. No life story above the recipe.