scientificallysweet.com
The BEST Cinnamon Rolls
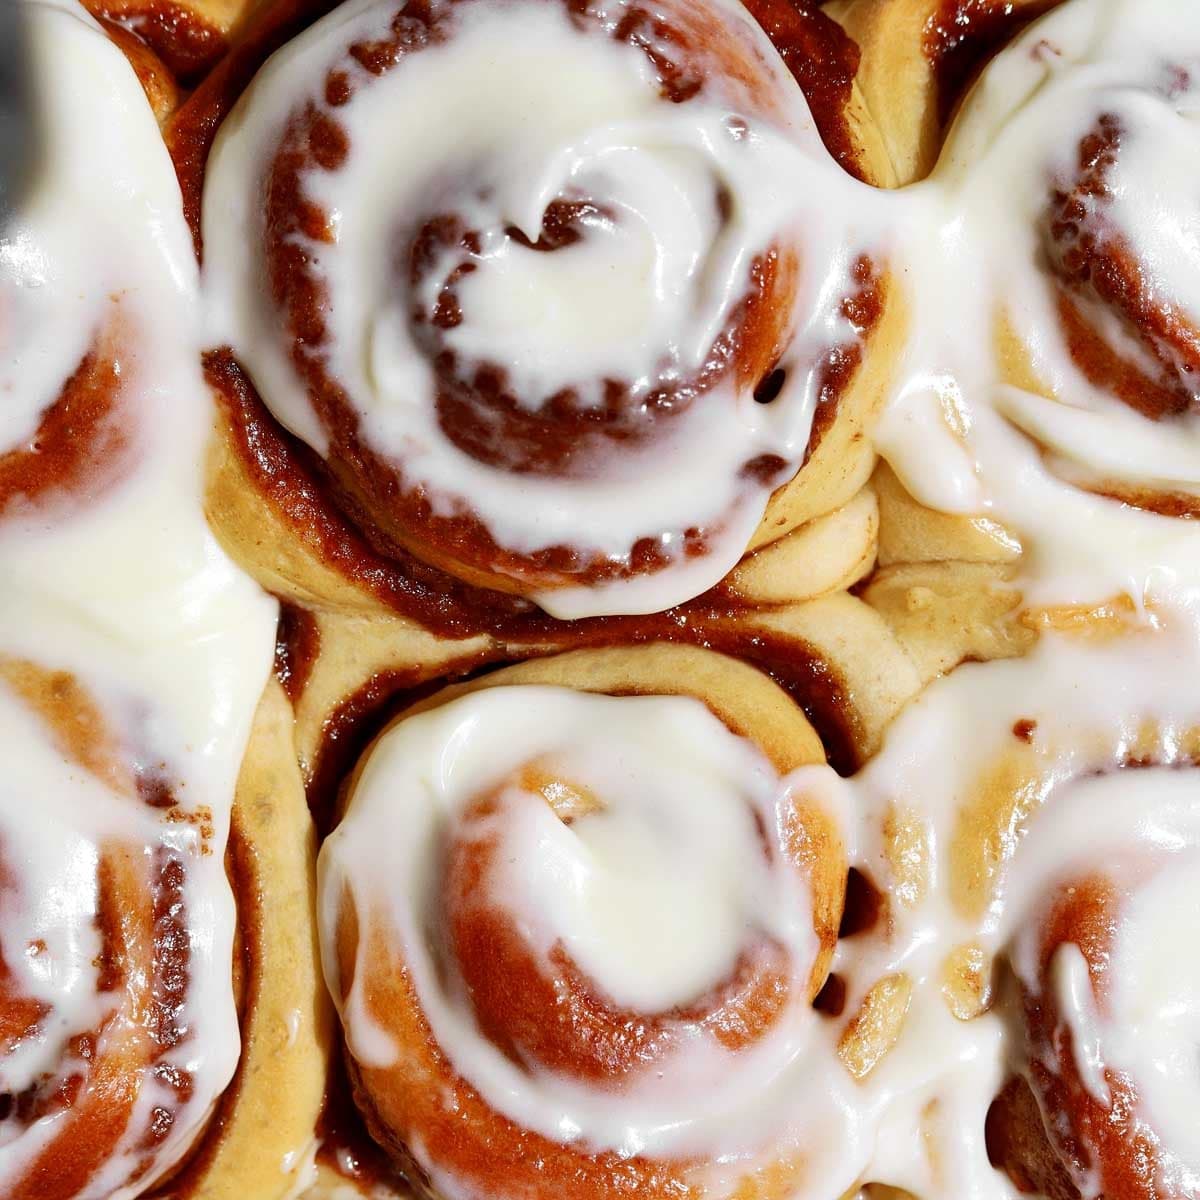
You have found the recipe for the BEST Classic Cinnamon Rolls written and tested by two Food Scientist to make fluffy full rolls that are soft and pillowy with a feathery crumb texture that just delicately peels apart. The filling is designed to hold in place without tearing the dough and when you bake them, your house will smell incredible! I know you will enjoy these easy-to-make cinnamon rolls to share with your family.
Prep
—
Cook
—
Total
—
Serves
12
Instructions
- 01
Make the dough. Place flour in the bowl of a stand mixer. Add in sugar, yeast and salt in little piles in separate places over the flour in the bowl so that they are not touching. See my video above the recipe card. The point is that you do not want the salt in direct contact with the yeast for a prolonged period of time without mixing or it can inhibit its activity.
- 02
Add in the egg, oil, milk and soft butter. Attach the dough hook and mix on medium-low for 10-15 minutes. Stop after a 2 minutes to scrape down the sides of the bowl and ensure all of the flour is incorporated and the dough is a uniform mixture. It will still be wet and rather loose at this point. Continue mixing for another 2-3 minutes. The dough should start to climb up the dough hook and will still be webbing around the bottom of the bowl. (Note: if the dough seems rather dry and stiff at this point, add water at 10ml increments until you reach a softer consistency as described). Stop the mixer and scrape around the inside of the bowl to release the dough. Continue mixing for another 3 minutes. Stop again, pull the dough off of the hook and scrape around the inside of the bowl to release the dough again. Continue mixing for another 3-5 minutes. At this point the dough should start forming a mass and come away from the bowl as it is mixing. You can check the temperature of the dough now if you have a digital thermometer – it should be between 24-26 degrees (75-79 degrees F) for optimal activity.
- 03
Transfer the dough to a lightly floured work surface. Now you will stretch and fold the dough to help develop the gluten structure so the rolls will be soft and fluffy. Using both hands, grab both sides of the dough, pull it outwards (this is the “stretch”), then fold it inwards over itself. Rotate the dough and continue to stretch and fold until the dough feels very smooth. Watch my video for a full tutorial. Shape the dough into a ball by tucking the sides underneath and rolling it around the counter The surface of the dough ball should pull smoothly without tearing.
- 04
Place the ball into a bowl and then rub a little bit of oil lightly over the surface with your hands to prevent it from drying out. Cover the bowl with plastic and then cover with a kitchen towel. Set it aside in a warm dark place and let it rise for 1-2 hours until nearly tripled in size. Note that the amount of time required will depend on the temperature of your kitchen. After it has risen, place it in the fridge for 15 minutes to let it firm up slightly so it is easier to roll. Note, if you are making these in a very cool climate, then this step isn’t necessary.
- 05
While the dough is rising, prepare the pan and make the filling. Lightly grease a 13x9-inch metal baking pan with cooking spray or soft butter.
- 06
Lightly flour a work surface to cover a large area. Carefully invert the bowl and tip the dough out onto the surface. Let the dough gently release from the bowl and plop onto the counter. Do not knead it any more at this point. Gently pull on the dough and stretch it out into a rectangle shape, then use a rolling pin to roll it out to a 17x14 inch rectangle with the long end facing you. For best results, try to get the rectangle as squared off as possible so the two end rolls are shaped nicely as well.
- 07
Make the filling. Option 1. Combine brown sugar, cinnamon and flour in a small bowl and mix well so it is evenly blended. Add water and cooled melted butter and stir until it forms a smooth sludge like wet sand. TIP: make sure the butter isn't too hot or it can cause the filling to separate and oil out. Also, don't let the filling cool down too much because if it gets cold, it will firm up and become difficult to spread.
- 08
Gently apply the filling in dollops over the surface and then spread it out evenly right to the edges using a large offset spatula.
- 09
Option 2. Melt the butter until only half melted over the stove or in the microwave, then continue stirring to let the residual heat melt the rest. This ensures you don't overheat it. Drizzle the melted butter evenly over the dough, then quickly spread it out in an even layer. Combine brown sugar, cinnamon and flour in a separate bowl, and then sprinkle it evenly all over the surface.
- 10
Now you can either roll it up into a log and slice the log into 12 portions, or slice the rolled dough into 12 long strips and then roll up each individual strip into a scroll. I like to roll up the strips (watch my video above for reference) since this is a soft dough and it tends to get squished when slicing with a knife. To do this, slice the dough into 12 even strips along the width so that you are slicing it into 14-inch long strips that are about 1 ¼ inches wide. Then, roll up each strip into a spiral from one long end to another. They will fill out and be full and beautiful!
- 11
Place each roll spiral-side-up into the prepared pan so they fit nicely next to each other. Cover the pan loosely with plastic and proof for 30 minutes to 1 hour. Note: this proof time highly depends on the temperature of your dough and temperature of your room. The rolls are ready for baking when you press on the side gently with your finger tip and it slowly springs back, leaving just the slightest imprint. If your fingerprint remains and leaves a deep imprint, then the dough is over-proofed.
- 12
While the rolls are rising, preheat the oven to 350°F.
- 13
Bake for 20-25 minutes until evenly golden and the center roll is cooked through. The internal temperature should be between 92 and 94°C (198-201°F).
- 14
Transfer pan to a wire rack and let rolls cool for 15-20 minutes.
- 15
Meanwhile make the icing. Combine cream cheese and soft butter in a medium bowl and mix well with a wooden spoon, whisk or electric hand mixer until very smooth. Add powdered sugar and vanilla and mix well until smooth, thick and creamy. Spoon a dollop of icing over each roll, spread it out to cover them in a thin layer and dig in!
Free · No ads
Save this recipe to your own library.
iCook.ing is a free recipe library. Create an account in 10 seconds to save this recipe, plan your week, and head to the store with one shopping list.
Save from anywhere
Paste a link from a recipe blog, Instagram, TikTok, Facebook, or Pinterest — we pull the ingredients, steps, and photo.
Plan your week
Drag recipes onto a weekly plan, scale for the number of people you're feeding, and never wonder what's for dinner.
One shopping list
Your plan rolls up into a single, de-duplicated shopping list — sorted by aisle so the store run is faster.
Cook, don't scroll
Big, screen-stays-awake cook mode with built-in timers. No ads. No life story above the recipe.